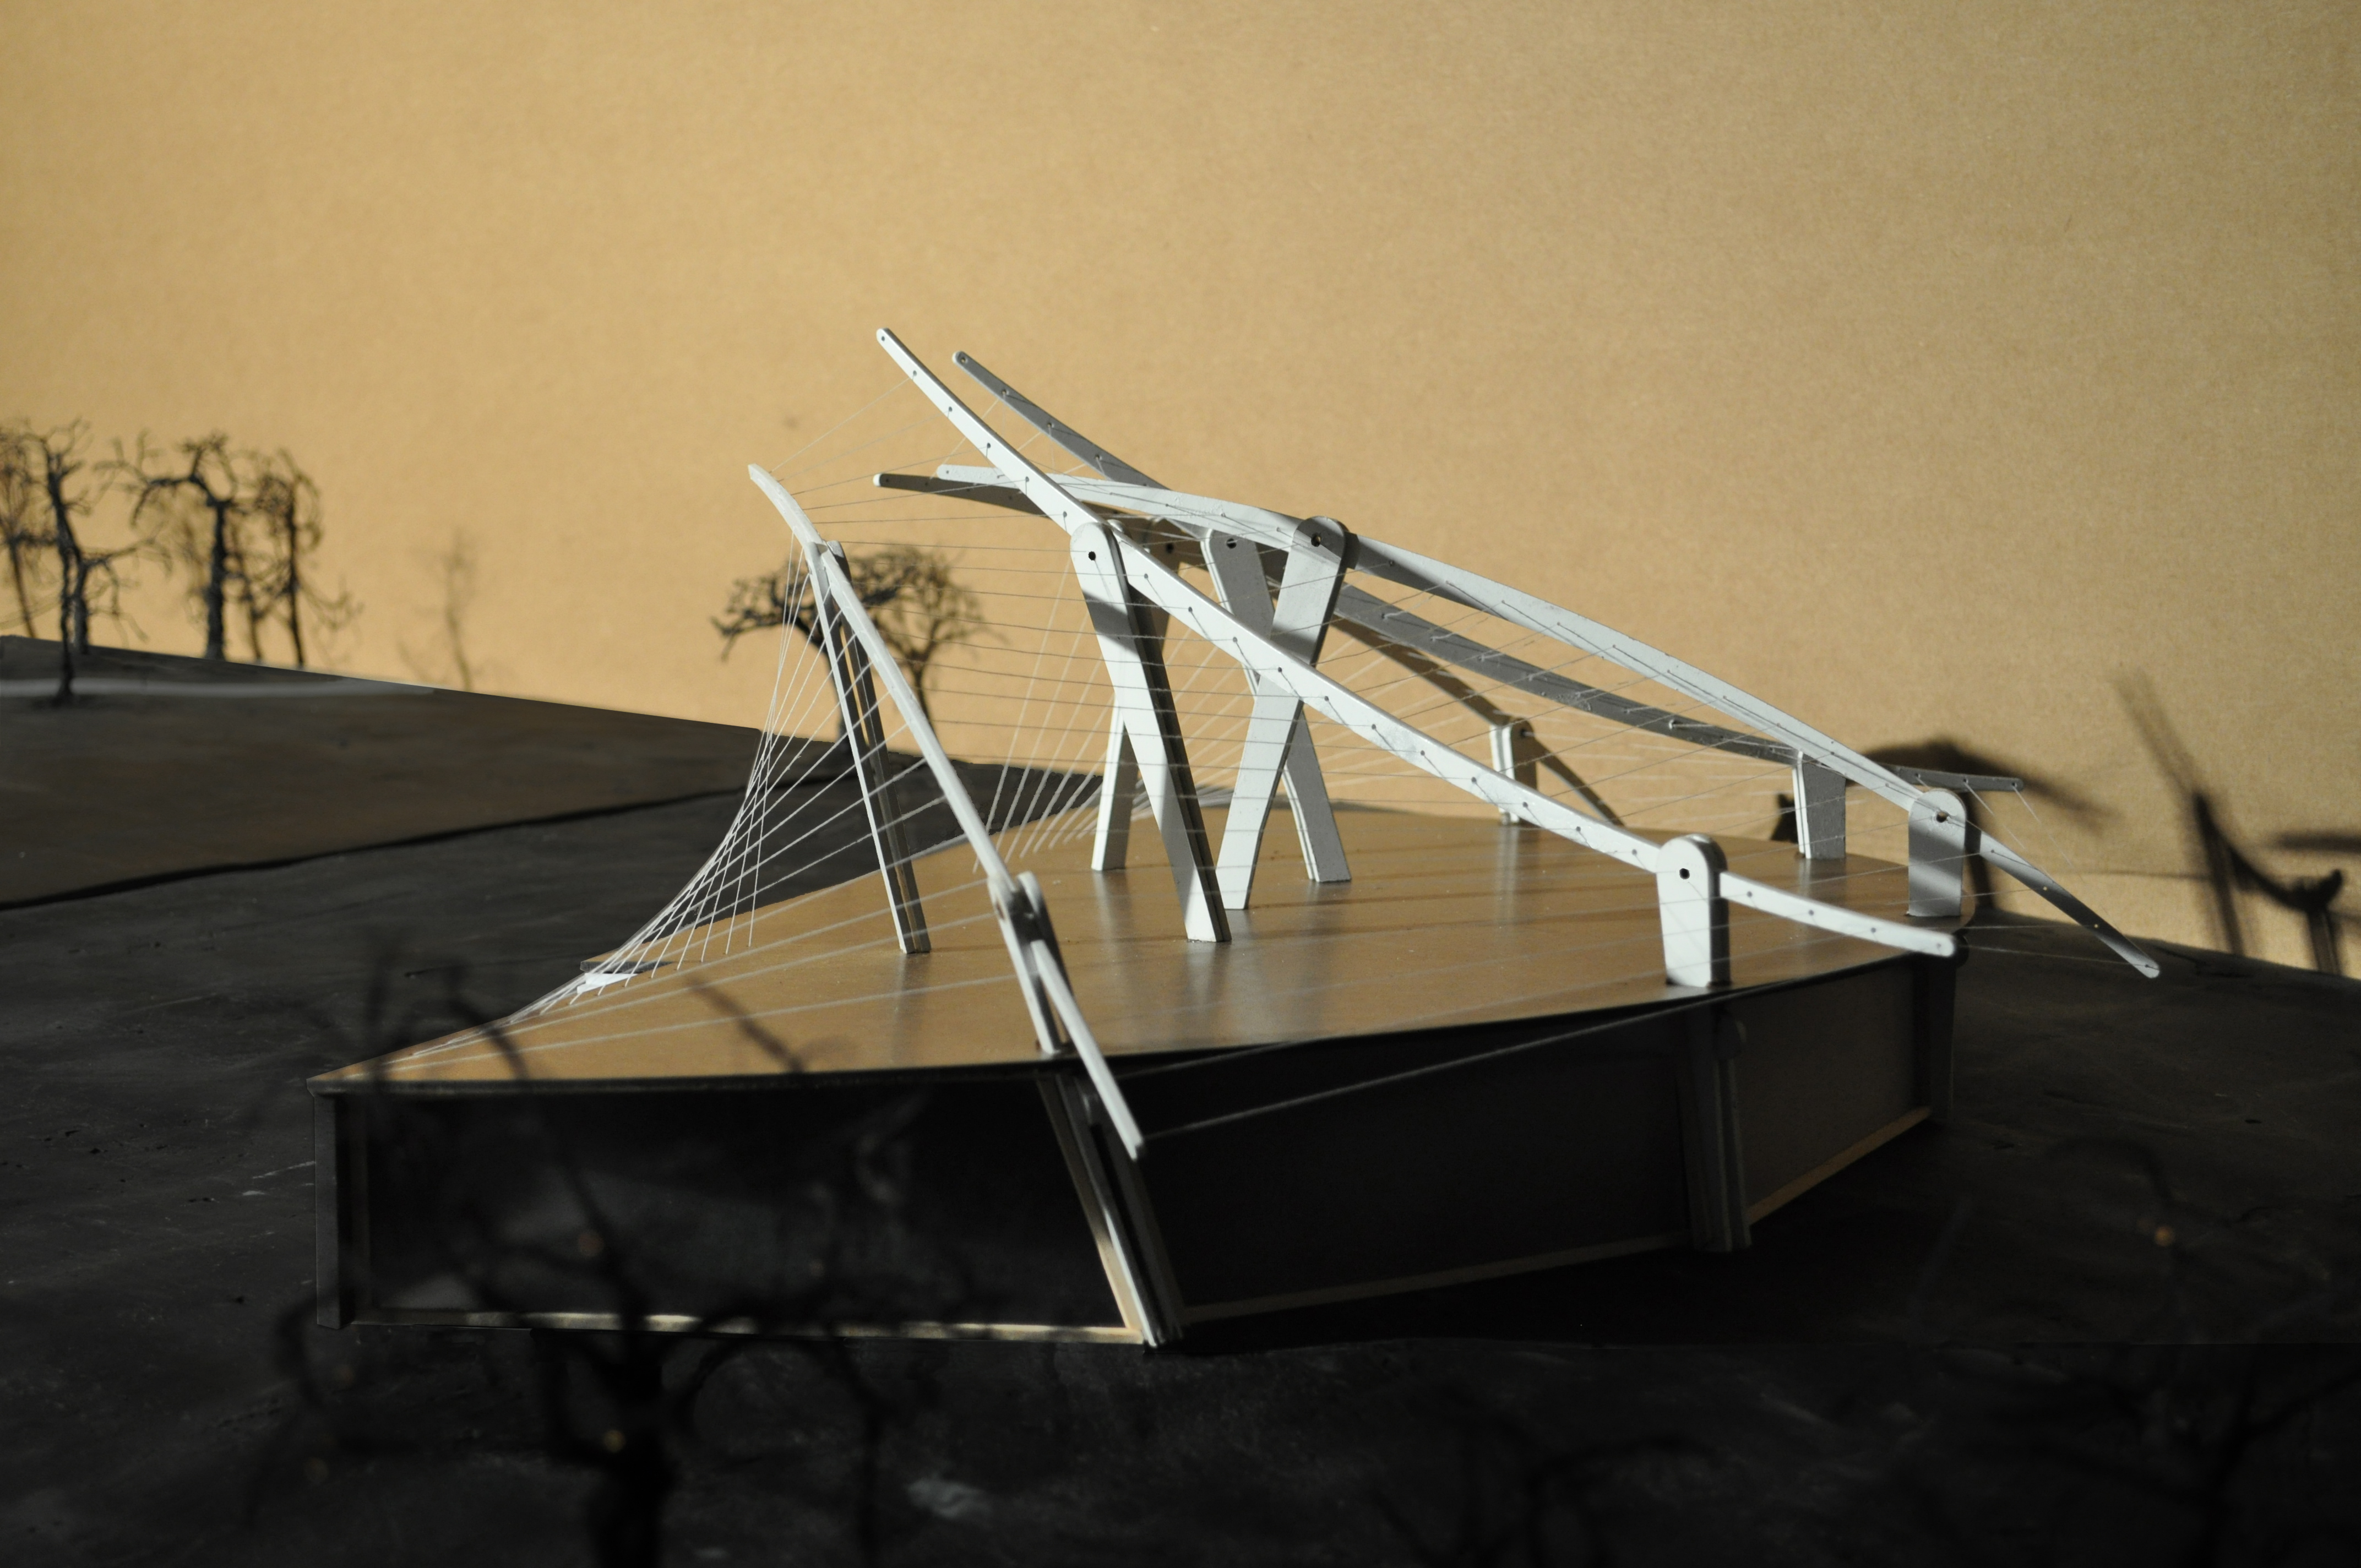
Here are some photos of my model on our sweet site model.


Meta
Blogroll
-
Join 8 other subscribers

Here are some photos of my model on our sweet site model.

Posted in Haddy, M., Phase 3: Architecture
For my final project I wanted a strong sculptural design influenced by the sloping site on which it was located. My fairly static and centralized plan is contrasted by the dynamic elevation of the roof. The form of the ribbons of the roof are determined by the heights of the various rooms required by the program. The rooms are all proportional to each other and their heights were determined by their relative importance to the program. So, for example, the tallest space is the stage, followed by the green room. The roof is highest there, and lowest at the individual dressing rooms and restrooms. The walls are constructed of pre-cast concrete and the roof is covered in architectural titanium. I used the mesh (mid-balance, held taut in a rigid frame) to cover the stage so as to allow it to be shaded for daytime performances. The windows in the main building are all above eye-level since all the spaces in that building are dressing rooms and restrooms. The form of the public restrooms and concession stands mimics the form of the main structure.
Posted in Phase 3: Architecture, Werner, Harrison
Here is a slideshow of our sweet site model process. Missing two photos: The body filler application and both pieces of the model put together finished.
Below are the pdf’s I generated as my final presentation posters, If anyone wishes to take a closer look to the detail.
The project taught me a new respect for detailing. Before this project I have always been aware of the importance to detail and thought I had a good grasp on detailing. However, throughout this process I learned new and creative thinking skills to help hammer out details. I based my project process off of details and will admit that I might have got a little caught up in this process. I spent a large amount of my time in building the studio site model thus it set me back during my design development stage. If I could do anything differently it would have been to of concentrating more on my design development process. Overall, I am pleased with the outcome of my project and the amount of work I put into it, just wish I could of had more time! But we always wish for more time!
Another note. The guest critics I thought were absolutely great. Not only for my project but as a whole. Some of the material and suggestions were obvious, but once they were able to dig deeper into everyone’s project, the discussions became more interesting. I want to thank all of them for coming and sharing their professional expertise. I also want to thank Cambridge Architectural for tuning in throughout our studio and for their continued support. I hope to work with them again, perhaps in the professional world.
Included in the above images are those of my model and my hand drawings. My idea for this project was to emphasize the stage using three copper tree-like forms that intersect over the stage creating an intriguing structure that would double as a location for lighting. The rest of the building would clad in weathered wood so it would blend into the woods leaving the stage to be further emphasized. I cantilevered my structure so it would not be too disruptive to the landscape and would create a unique lookout at the end of the hallway. I created a strip of windows above eye level at about 6′ above the floor for natural lighting.
Posted in Phase 3: Architecture, Rehn, Alexandra


Soldering is not my specialty, however, I could not come up with another method to model the tree structure. Therefore the above images show my attempt at soldering copper to copper. The longest member is apparently not real copper therefore no matter how hot the soldering iron was it would not take to the solder. After many trials and experimentation, it still would not hold, therefore I used masking tape at that point. The proportion and general curve of the members are correct. It is not as detailed as I would have liked because it is a time-consuming process and, unfortunately, I did not have the correct clamps for the process.
Posted in Phase 3: Architecture, Rehn, Alexandra

You must be logged in to post a comment.